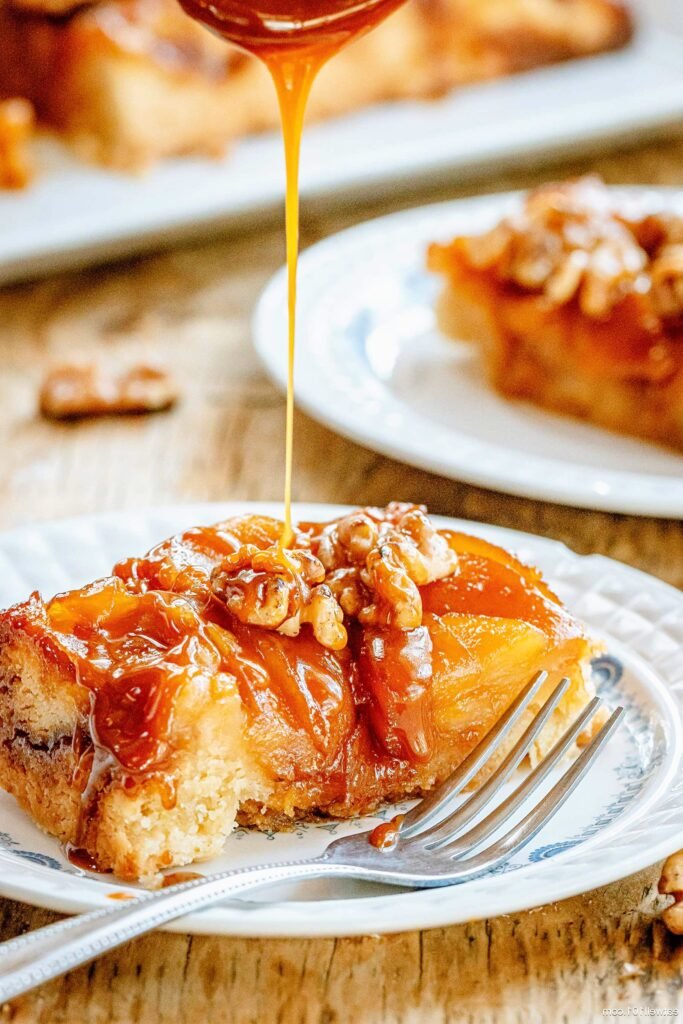
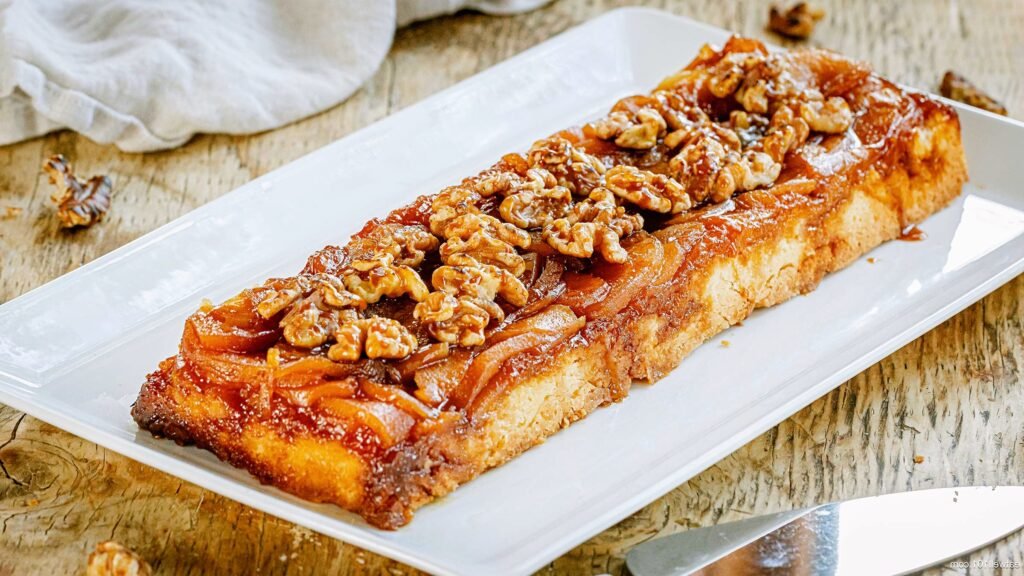
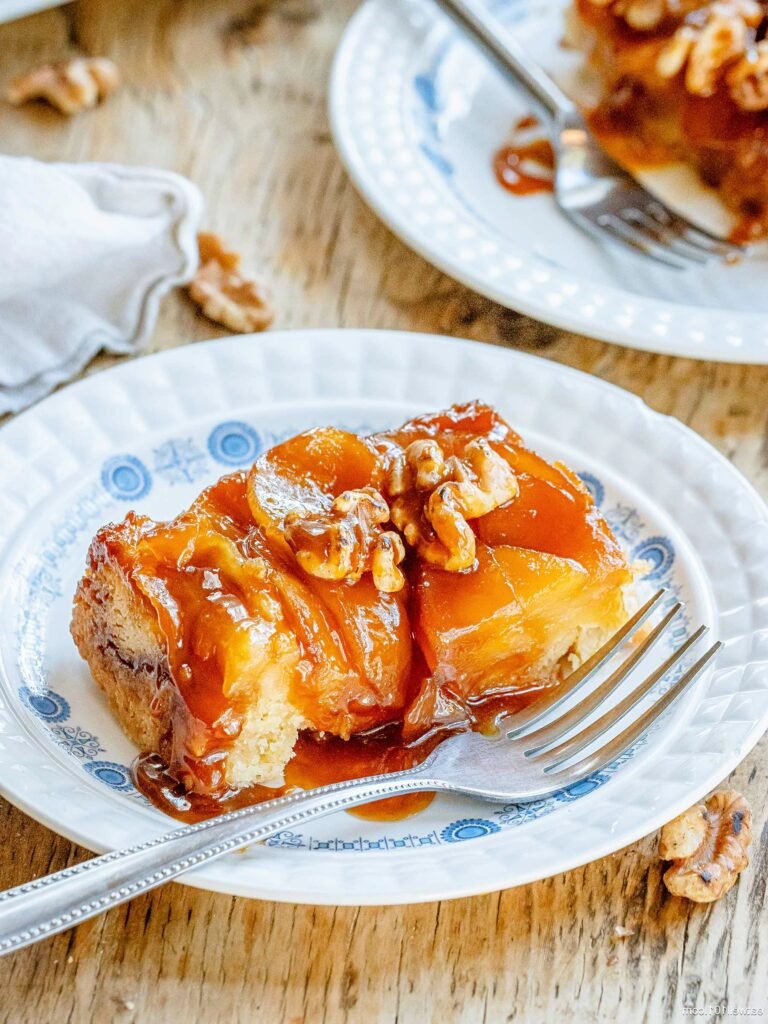
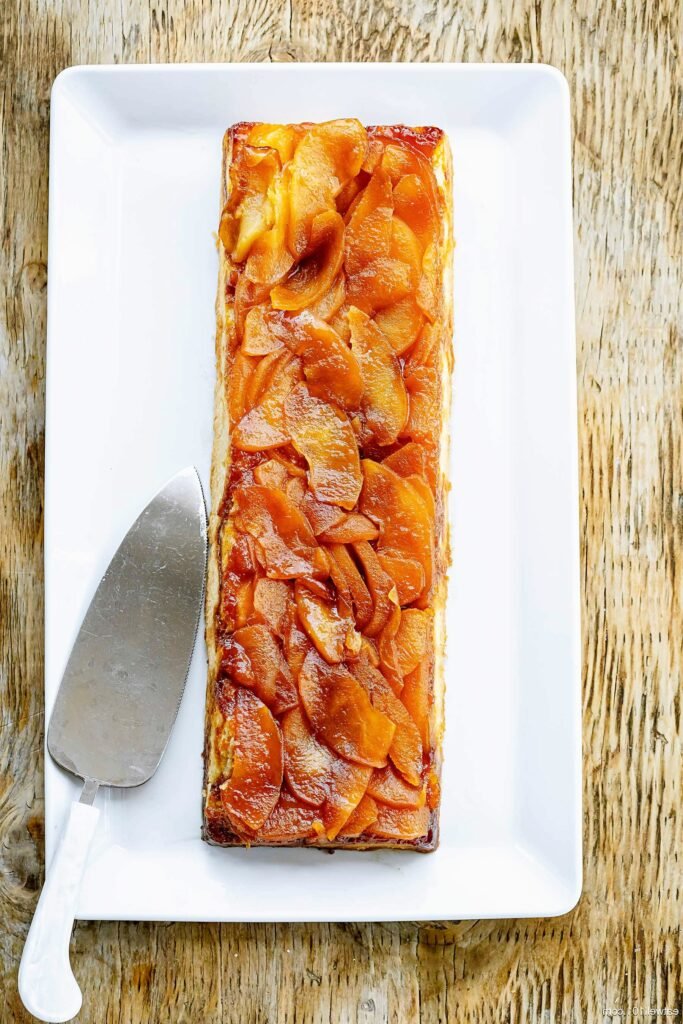
There’s something undeniably comforting about a warm apple cake, the aroma of cinnamon and caramelized apples filling the kitchen. This upside-down version takes that comfort factor to a whole new level. The buttery, melt-in-your-mouth pastry forms the base, while the caramelized apples create a stunning, golden topping.
I first encountered this cake years ago at a cozy café in Vermont. The sight of the glistening apples peeking out from the bottom of the cake was simply irresistible. Since then, I’ve been perfecting this recipe at home, experimenting with different types of apples, and finding the ideal balance between the caramel’s sweetness and the fruit’s tartness.
Here’s what you’ll need to create this autumnal delight
Ingredients for Bottom-up Caramel Apple Cake
- For the Apples:
-
- 4 to 5 apples (Granny Smith, Honeycrisp, or a mix are great choices)
- 2/3 cup (120g) granulated sugar
- 6 tablespoons water
- 1/2 stick (60g) unsalted butter, cut into cubes + 1 tablespoon softened butter for coating the apples
-
- For the Pastry
-
- 1-1/2 cups (150g) all-purpose flour, spooned and leveled
- 1/2 teaspoon salt
- 3/4 cup (80g) confectioners’ sugar
- 1-1/2 sticks (150g) unsalted butter, cold and cut into 1/2-inch cubes
- 1 whole egg (optional)
- 1/4 cup cold water
-
Equipment
- 9-inch oven-safe skillet or cake pan
- Mixing bowls (2)
- Pastry cutter or fork
- Rolling pin
- Spatula
- Stovetop
- Oven
Instructions for Bottom-up Caramel Apple Cake
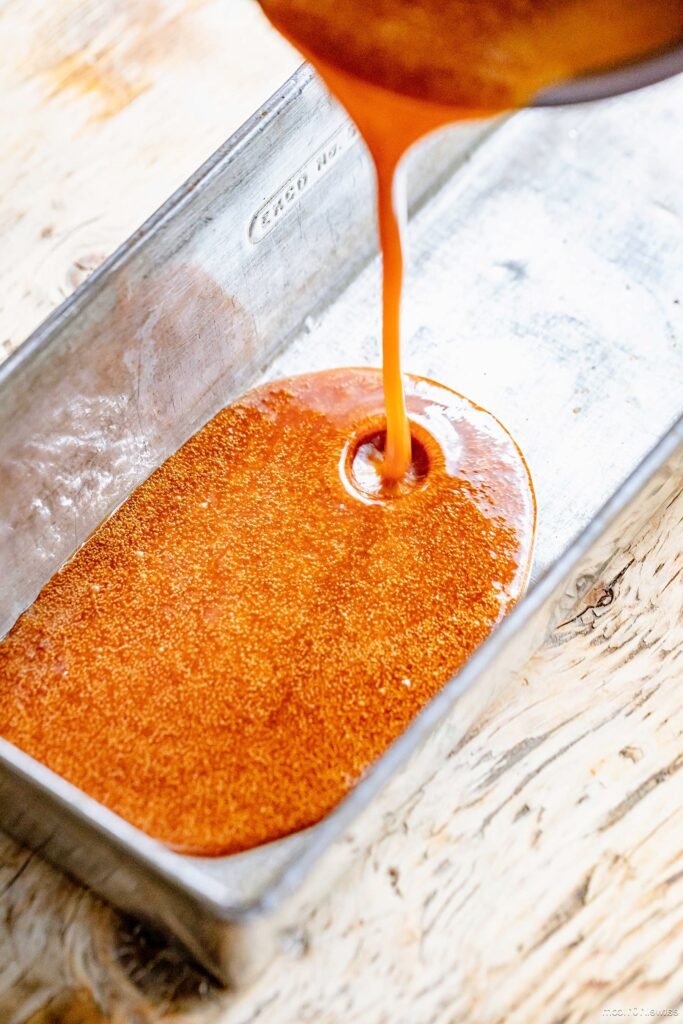
- Caramelize the Apples: In your oven-safe skillet, melt the 6 tablespoons of water and sugar over medium heat, swirling the pan occasionally, until the sugar dissolves and turns a deep amber color (about 5 minutes). Be careful; hot caramel can burn quickly! Remove from heat and whisk in the 1/2 stick of butter, cut into cubes. It will sizzle – that’s okay! Once combined, arrange the apple slices (coated with the softened butter) in a single layer over the caramel sauce.
- Make the Pastry:
-
- In a large bowl, whisk together the flour and salt.
- Cut in the cold butter using a pastry cutter or two forks until the mixture resembles coarse crumbs. You can also pulse this in a food processor a few times.
- Stir in the confectioners’ sugar.
-
- Bind the Dough:
-
- Whisk together the egg (if using) and cold water in a separate bowl.
- Gradually add the wet ingredients to the dry ingredients, mixing until a dough forms.
- Don’t overmix!
-
- Roll and Bake: Roll the dough into a circle slightly larger than your skillet on a lightly floured surface. Carefully transfer the dough to the pan, gently pressing it over the caramelized apples.
- Baking Time: Preheat your oven to 375°F (190°C). Bake the cake for 40-45 minutes until the crust is golden brown and the edges start pulling away from the pan.
Cooling and Serving
Let the cake cool in the pan for at least 15 minutes before inverting it onto a serving plate. Tip: To ensure a clean release, gently run a knife around the edges of the pan before inverting. Serve warm with a scoop of vanilla ice cream or whipped cream for an extra decadent treat.
This cake serves 6-8 people and takes about 1 hour 15 minutes to prepare and bake. While delicious, a dollop of whipped cream or a scoop of vanilla ice cream adds a delightful touch.
Side Dish
This cake is so rich and satisfying it doesn’t necessarily need a side dish. However, a simple green salad with a vinaigrette dressing would be perfect if you’re looking for a lighter accompaniment.
Conclusion
The upside-down apple cake is a timeless classic with a touch of elegance. It’s perfect for a cozy fall afternoon or a potluck gathering. With simple ingredients and straightforward instructions, this recipe will become a favorite in your baking repertoire. So, grab your apples and enjoy this autumnal delight’s sweet and comforting flavors!
FAQs
Can I use a different type of apple?
Absolutely! While Granny Smith or Honeycrisp are great options for their tartness and ability to hold their shape, feel free to experiment with other varieties. Here are a few suggestions:
- Braeburn: Offers a sweet-tart flavor with a nice balance to the caramel.
- Fuji: Sweet and slightly tangy, with a softer texture.
- Pink Lady: Similar to a Fuji, but with a beautiful pink blush on the skin.
- Gala: Very sweet and juicy, may require slightly less baking time.
What if I don’t have an oven-safe skillet?
No problem! You can use a regular cake pan. Just line the bottom with parchment paper for easier removal after baking.
My cake is sticking to the pan! How can I prevent this?
A few things can help ensure a clean release:
- Make sure your caramel is a deep amber color before adding the butter.
- Lightly grease the sides of the pan with butter before adding the caramelized apples.
- Let the cake cool completely in the pan before inverting.
- Run a knife around the edges of the pan to loosen the cake before inverting.
Can I make the pastry dough ahead of time?
Yes! You can prepare the dough up to 2 days in advance. Wrap it tightly in plastic wrap and store it in the refrigerator. Let it soften slightly at room temperature for about 30 minutes before rolling it out.
My dough needs to be more dry and crumbly. What can I do?
If your dough seems dry, add 1 tablespoon of cold water, mixing gently until it comes together. Don’t overmix, or the dough will become tough.
I don’t have any confectioners’ sugar. Can I substitute granulated sugar?
You can use granulated sugar instead of confectioners’ sugar in the pastry dough in a pinch. However, the texture will be smoother. You may also want to rub the sugar between your fingertips to break down large granules.
Is this recipe vegan?
This recipe can be easily adapted to be vegan. Use vegan butter for both the caramel and the pastry dough. You can also skip the egg in the dough and use 1-2 tablespoons of additional cold water to bind the ingredients.
