Ah, chocolate cake. A timeless dessert that evokes pure comfort and indulgence. But what if I told you there’s a way to enjoy that rich chocolatey goodness in bite-sized portions? Enter these Irresistibly Mini Chocolate Cakes – perfect for satisfying a sweet tooth without going overboard.
In my kitchen, I love whipping up these little gems for unexpected guests or a cozy night in. They’re incredibly easy to make, requiring minimal ingredients and prep time. The individual portions ensure perfect portion control because sometimes a whole cake is just too tempting to resist!
Ingredients for Irresistibly Mini Chocolate Cakes
- 3 ½ oz (100g) dark chocolate, broken into pieces—High-quality dark chocolate is key here. I use 70% cocoa for a deep, intense flavor.
- 1 stick (110g) unsalted butter, softened—Grease the ramekins and create a rich cake base.
- 4 large eggs: The base of our batter is responsible for that lovely rise.
- ¾ cup (150g) granulated sugar – Sweetness without overpowering the chocolate.
- ¼ cup (40g) all-purpose flour, unsifted – Just enough to hold everything together without making the cakes dense.
- 1 tablespoon unsweetened cocoa powder, plus extra for dusting—This deepens the chocolate flavor and adds a touch of elegance when dusted over the finished cakes.
- 20 raspberries: A burst of fresh tartness that perfectly complements the chocolate’s richness.
Equipment
- Mixing bowls (one large, one small)
- Electric mixer (handheld or stand)
- Rubber spatula
- Ramekins (4-6, depending on their size)
- Baking sheet
- Whisk
Instructions for Irresistibly Mini Chocolate Cakes
- Prep work is key! Preheat your oven to 350°F (175°C) and grease your ramekins with butter. Dust them with cocoa powder for an extra chocolatey touch (and easier cake removal later).
- Melt the magic. In a heatproof bowl set over a pot of simmering water (bain-marie method), melt your dark chocolate until smooth and glossy. Keep an eye on it and stir occasionally to prevent burning. Remove from heat and let it cool slightly.
- Creaming the dream. In your large mixing bowl, cream the softened butter and sugar until light and fluffy. This will take a couple of minutes with your electric mixer.
- Beat in the eggs one at a time, ensuring each one is fully incorporated before adding the next.
- Chocolate Symphony. Gently fold in the melted chocolate until just combined. Don’t overmix!
- Sifting for Success. In a separate bowl, whisk together the flour and cocoa powder. Gradually sift this dry mixture into the wet ingredients, folding it in until no streaks of flour remain.
- Berry Good! Gently fold in the raspberries, taking care not to crush them.
- Baking Time! Divide the batter evenly among your prepared ramekins. Bake for 10-12 minutes, or until a toothpick inserted into the center comes out with moist crumbs (not completely clean).
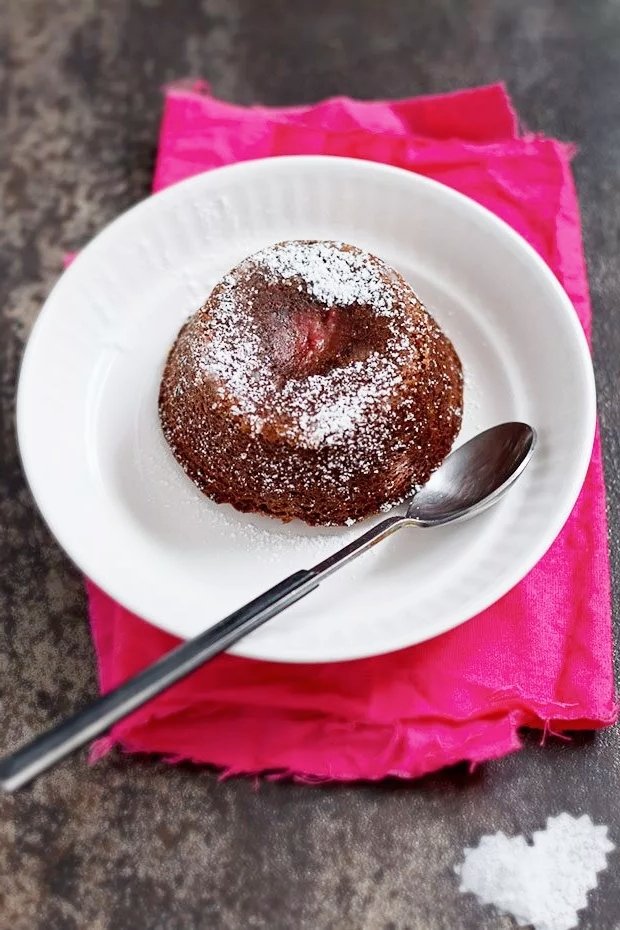
- Heavenly Rest. Let the cakes cool in the ramekins for a few minutes before carefully inverting them onto plates—dust with additional cocoa powder for a finishing touch.
Serving and Sides
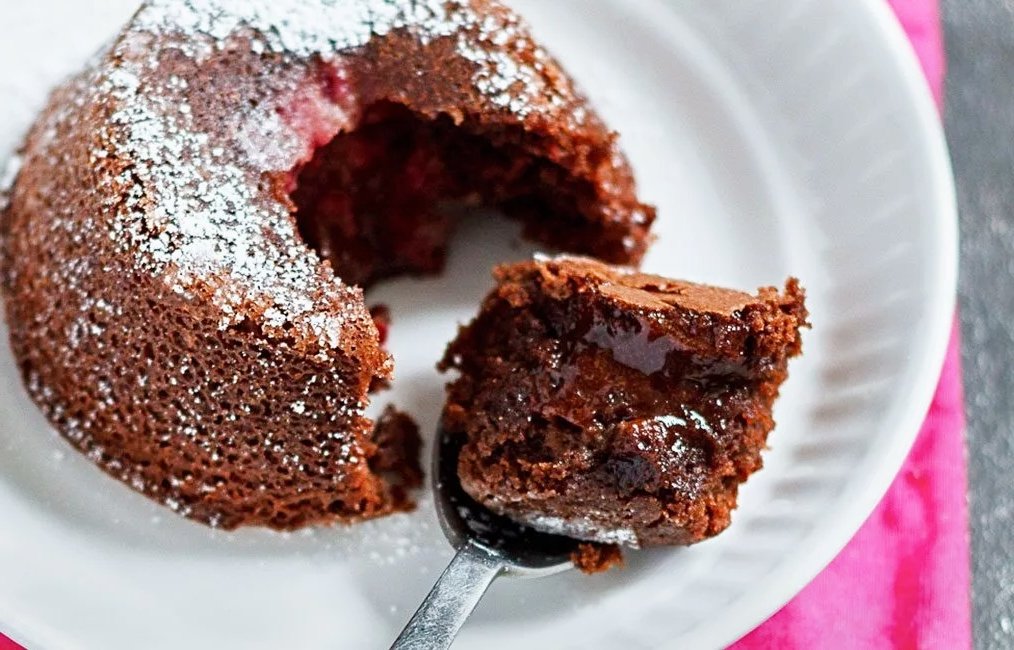
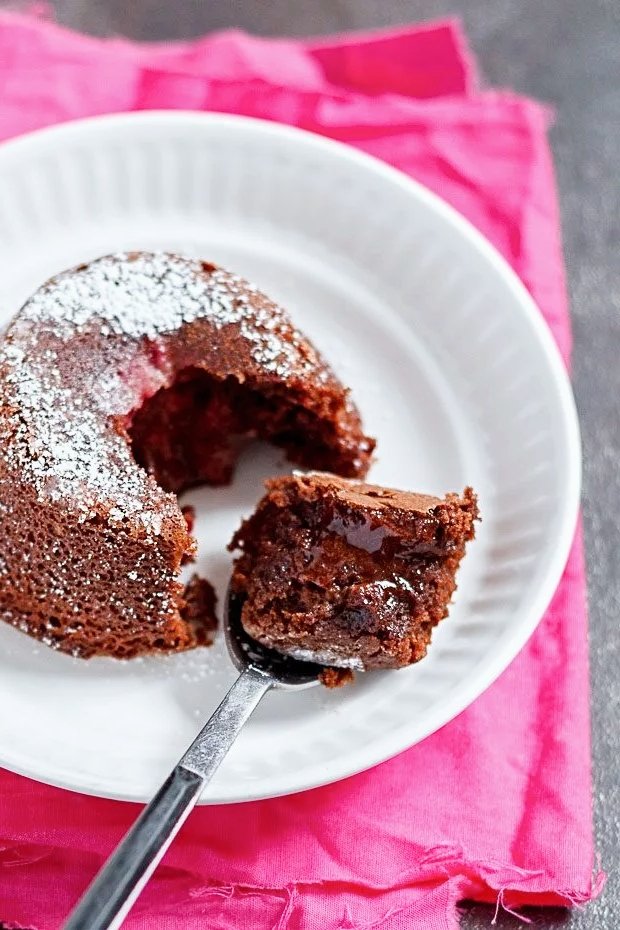
These tiny chocolate cakes are best served warm when the chocolate is molten and gooey in the center. A dollop of whipped cream or a scoop of vanilla ice cream takes them to the next level of indulgence.
Total Time: Prep and cooking should take about 30 minutes, making this a perfect last-minute dessert.
Sides? Not Necessary! The beauty of these cakes lies in their size and richness. They’re a dessert all on their own, but if you must have something alongside, a cup of coffee or tea is a classic pairing.
Conclusion
These tiny chocolate cakes are a guaranteed crowd-pleaser, perfect for any occasion. They’re easy to make, incredibly delicious, and ideal for satisfying your sweet tooth without guilt. So, what are you waiting for? Bake a batch and share the chocolatey love!
FAQs
Can I use milk chocolate instead of dark chocolate?
You can use milk chocolate instead of dark chocolate in this recipe. However, the flavor profile will be sweeter and less intense. For a richer chocolate experience, I highly recommend using dark chocolate with a 70% cocoa content or higher.
Don’t have ramekins?
No problem! You can bake these tiny cakes in other oven-safe dishes if you don’t have ramekins. Just make sure they are roughly the same size for even baking. Here are some alternatives:
- Muffin tins lined with cupcake liners
- Small oven-safe bowls or custard cups
- Mason jar lids (for a truly unique presentation!)
How can I store leftover cakes?
These cakes are best enjoyed fresh from the oven when the chocolate is molten. However, if you have leftovers, they can be stored in an airtight container in the refrigerator for up to 2 days. Reheat them gently in the microwave for a few seconds until the chocolate softens again.
Can I make the batter ahead of time?
Yes, you can prepare the batter up to 2 hours ahead. Just store it in an airtight container in the refrigerator. When ready to bake, let the batter sit at room temperature for 30 minutes before scooping it into the ramekins.
My cakes aren’t rising! What went wrong?
There are a couple of reasons why your cakes might not be rising. First, ensure you use fresh baking powder. Second, don’t overmix the batter. Overmixing can deflate the air bubbles that make the cakes rise.
My cakes are sticking to the ramekins! Help!
For easier removal, generously grease the ramekins with butter before dusting them with cocoa powder. You can also run a thin knife around the edges of the cake before inverting it onto a plate.


